Cart
0
HOME
ABOUT US
WHAT WE OFFER
BOOK NOW
BLOG
CONTACT
Back
Welcome to SmartFit
Meet The Team
Studio Gallery
Testimonials
Join Us
FAQs
Back
Pilates
Functional Training
Rehabilitation
GYROTONIC®
Back
Book Private Session
Book Group Class
Class Schedule
Pricing
Promotions
How To Book
Cart
0
HOME
ABOUT US
Welcome to SmartFit
Meet The Team
Studio Gallery
Testimonials
Join Us
FAQs
WHAT WE OFFER
Pilates
Functional Training
Rehabilitation
GYROTONIC®
BOOK NOW
Book Private Session
Book Group Class
Class Schedule
Pricing
Promotions
How To Book
BLOG
CONTACT
Energy. Health. Strength
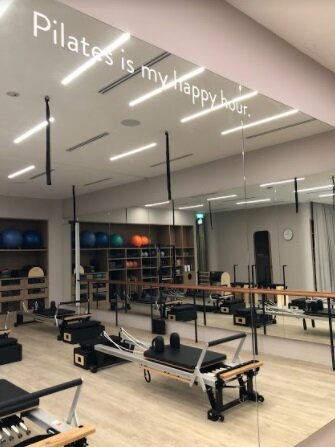
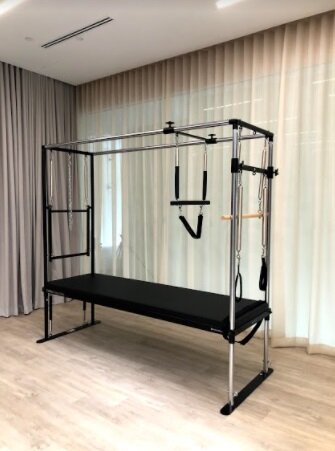
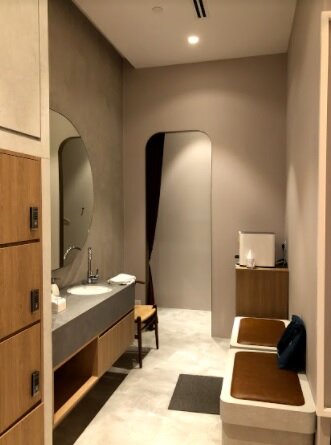
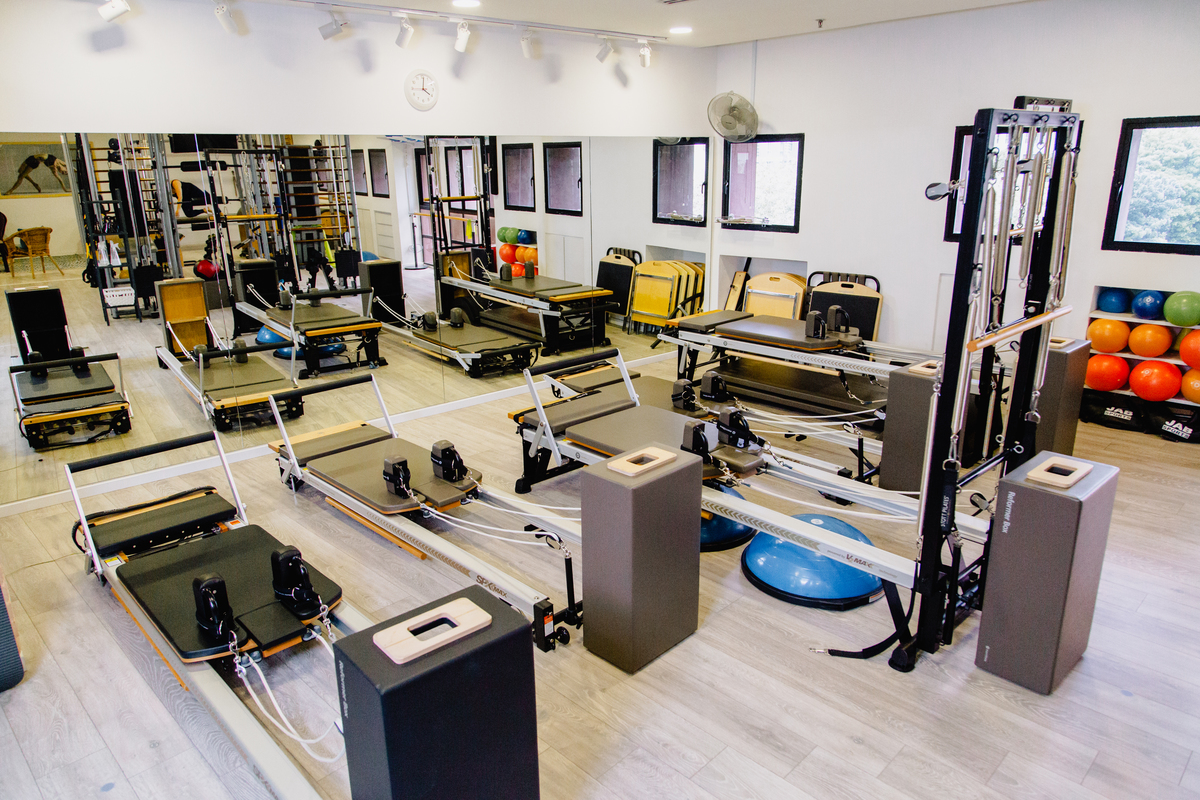
STUDIO GALLERY - 1st floor
View fullsize
Main Studio
View fullsize
Main Studio
View fullsize
Private Area (Cadillac)
View fullsize
Changing Rooms
View fullsize
Reception
View fullsize
Cafe
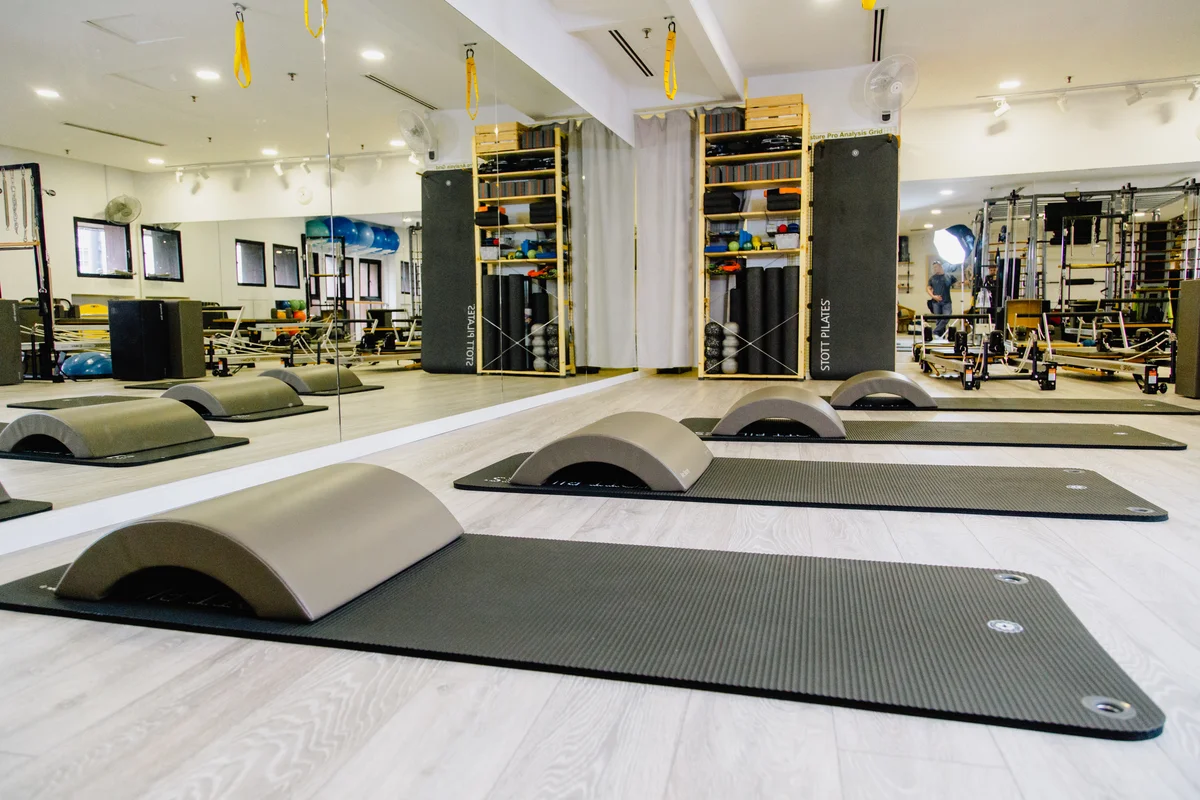
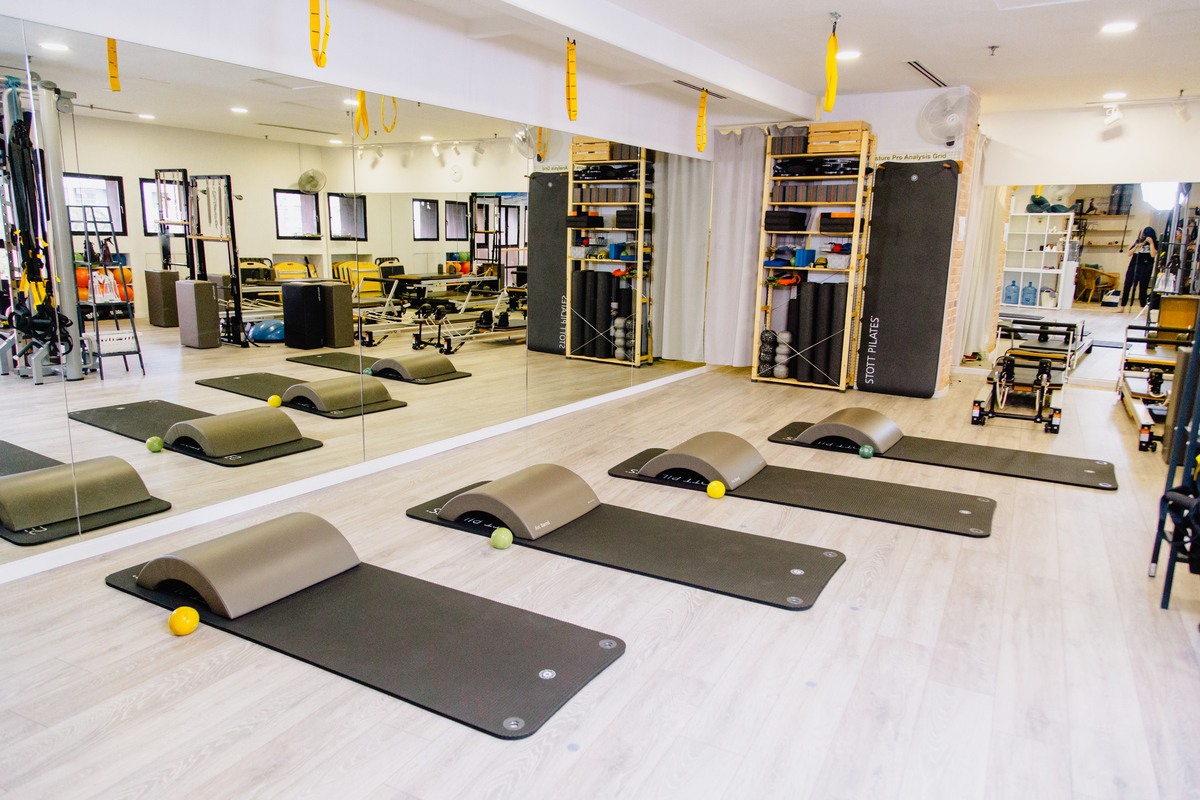
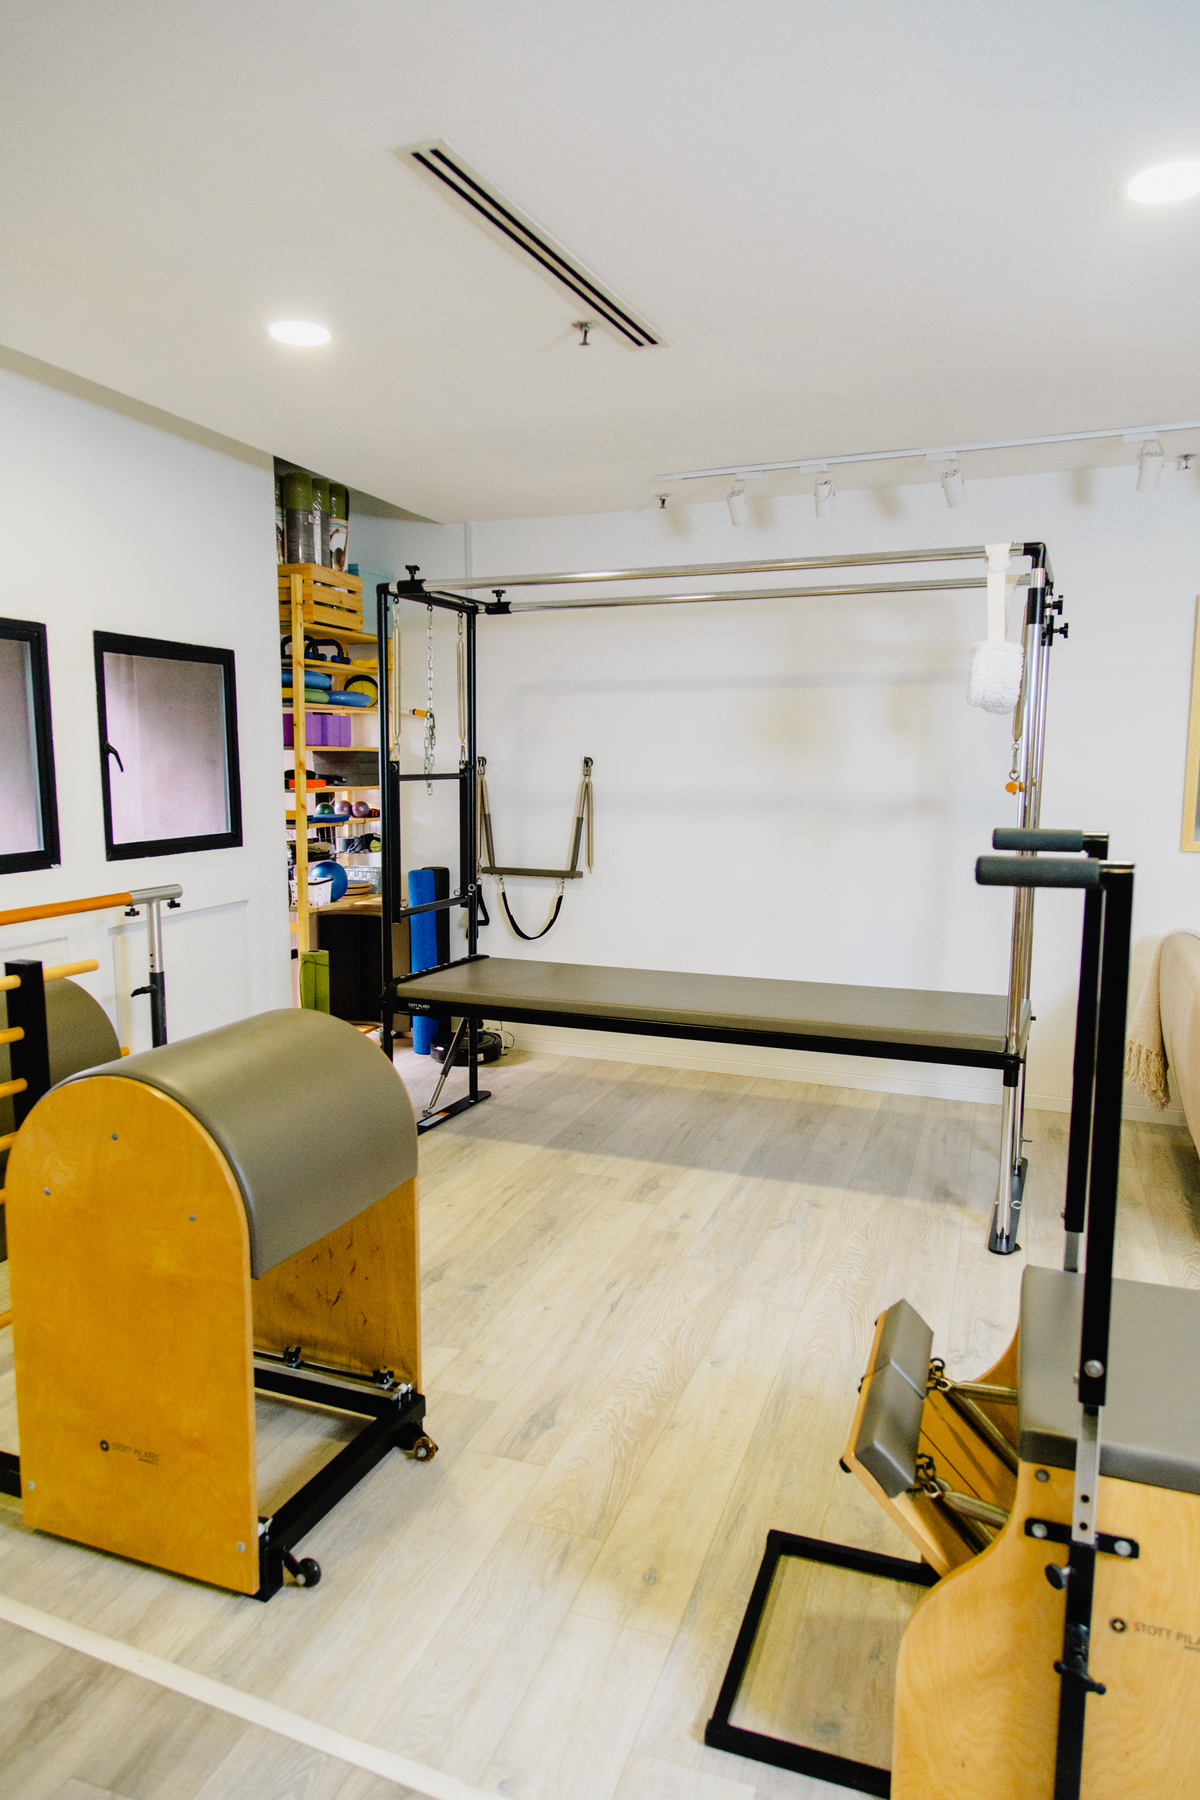
STUDIO GALLERY - 4TH FLOOR
View fullsize
Reformer Pilates
View fullsize
Reformer Pilates
View fullsize
Mat Pilates
View fullsize
Mat Pilates
View fullsize
Pilates: Cadillac & Chair
View fullsize
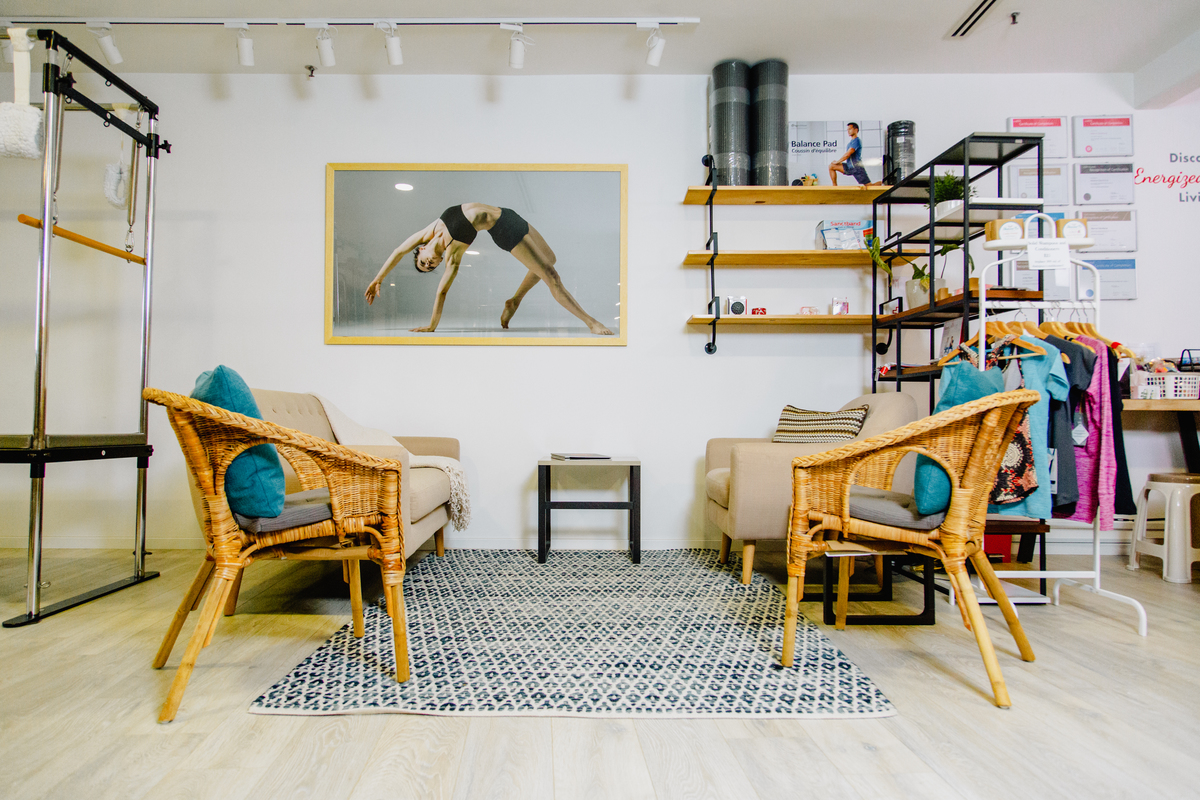
Waiting Area